New to the Hard Flooring Industry?
How to Use a Rotary Floor Machine – A Beginner’s Guide
If you’re new to the hard flooring industry, learning how to use a rotary floor machine correctly is essential. These machines are powerful, versatile and widely used across the industry — but understanding how they work and how to control them safely will help you achieve professional results while protecting both your equipment and your customer’s property.
What Is the Purpose of a Rotary Floor Machine?
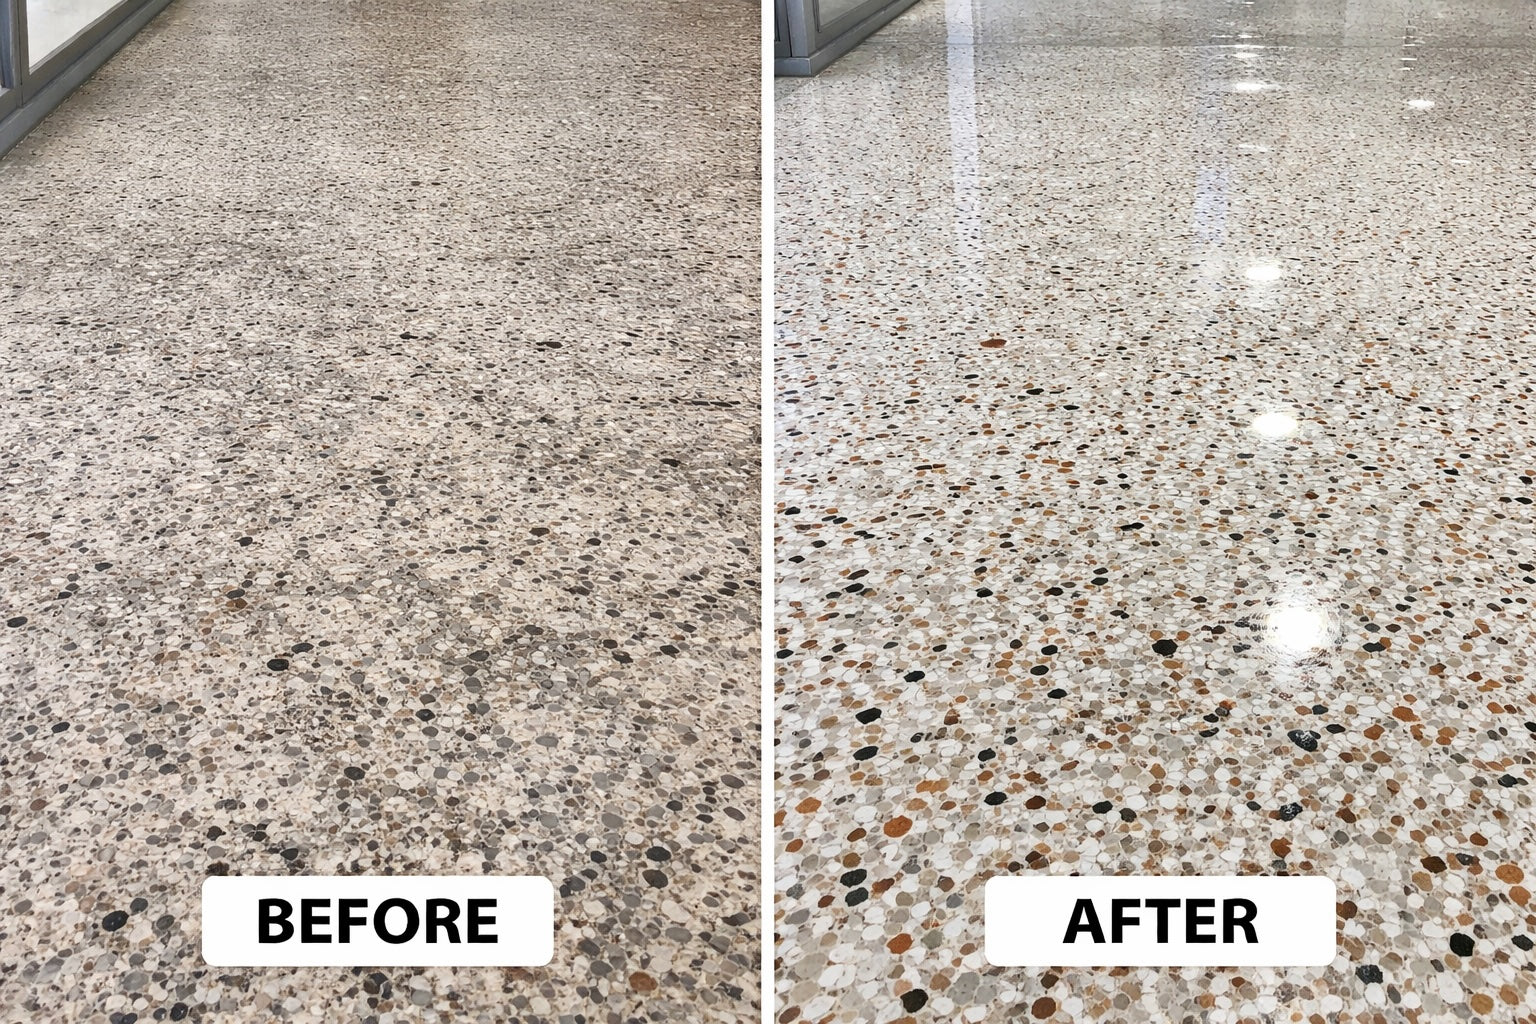
A rotary floor machine is designed to clean, grind, polish and maintain hard floors, including:
-
Tile floors
-
Concrete floors
-
Terrazzo floors
-
Hardwood and timber floors
Rotary machines are used in domestic, commercial and industrial environments, making them one of the most versatile pieces of equipment in the floor care and restoration industry.
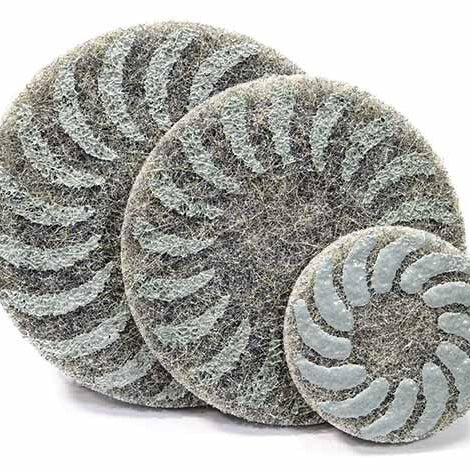
Step 1: Attaching the Drive Board (Pad Holder) or Brush
The drive board (often referred to as a pad holder) is the large circular disc that holds your floor pads. It features a hook-and-loop (Velcro-style) surface, allowing pads to attach securely.
How to Attach the Drive Board or Brush
-
Locate the drive pulley at the base of the machine.
-
Insert the drive board or brush into the pulley.
-
Align it correctly and turn half a turn anti-clockwise to lock it into place.
Most rotary machines use a clutch or flange system, which can vary by manufacturer. A range of clutch plates are available if required.
✔ All of our rotary floor machines are supplied as standard with:
-
A drive board
-
A nylon brush
Replacement drive boards and consumables are available through our website.
Best Practice Tip
-
Store the drive board detached from the machine when not in use
-
Clean pads and brushes after each job and allow them to dry fully
-
This helps prevent warping caused by the machine’s weight
Step 2: Correct Posture & Handle Position
Correct posture is essential for control, comfort and safety.
-
Use the handle lever to adjust the handle to a comfortable height — typically just below waist level
-
Lift the machine slightly so it sits completely level on the floor
Correct Operating Position
-
Back straight
-
Legs straight
-
Arms straight
A good way to visualise this is to imagine balancing a marble on top of the machine — if it rolls off, the machine isn’t level.
Step 3: Understanding the Handle Controls
The handle section includes two safety switches at the top. These prevent accidental start-up.
-
The machine will only operate when one of the safety switches is engaged
-
The main power switch is also located on the handle
Solution Tank Control
If your machine is fitted with a solution tank:
-
A secondary lever beneath the handle dispenses cleaning solution
-
Use small amounts to begin with
⚠ Applying too much liquid can:
-
Cause excessive splashing
-
Damage walls, furniture or kitchen units
-
Create extra cleanup work
Step 4: Steering a Rotary Floor Machine
Using a rotary machine for the first time can feel intimidating — but control comes with practice.
Steering works on a simple principle:
-
Raise the handle to move right
-
Lower the handle to move left
A helpful way to remember this is:
“Raise to go right, lower to go left.”
Always keep the machine level while steering to avoid damage to the floor or machine.
Additional Tips
-
Relax your body — tension leads to fatigue and loss of control
-
Practice in an open area before tackling detailed work
-
The wheels are for transport only and should not touch the floor during operation
Need Further Advice?
If you have any questions about rotary floor polishers, machine setup, consumables or floor care products, we’re happy to help.
📞 Call Rob on 07966 555828 for expert advice based on real industry experience.