

Start with the material, not the chemical
Correct identification reduces the risk of choosing an unsuitable efflorescence remover for acid-sensitive stone.
What Is Efflorescence on Stone?
Efflorescence is a surface deposit formed when dissolved minerals move through a porous material and remain behind as moisture leaves. The salts may come from mortar, concrete, bedding layers, grout, soil, groundwater or the stone itself. As water travels through pores and capillaries, it can carry soluble salts towards the surface. When water evaporates, the minerals crystallise. The result is often a white or pale powdery film, although deposits can also look grey, yellowish or slightly crystalline. The appearance depends on the salts, the material, the amount of moisture and the weather. Efflorescence usually indicates movement of moisture rather than a simple surface spill. It does not always mean the stone has failed, but repeated deposits suggest that the source of water still needs attention.
Why the deposit looks white
Many common salts dry to a pale powder. Fine crystals scatter light, so the residue can appear brighter than the surrounding stone. Damp deposits may look darker at first, then become more visible as the water evaporates.How Moisture Carries Salts Through Porous Materials
Porous stone, clay tiles, mortar and concrete contain small connected spaces. Moisture can enter through a slab, joints, a wall, poor drainage, rain or a leak. The water then moves through those spaces by capillary action. Soluble salts travel with it. When the surface is warmer, drier or better ventilated, water evaporates. Salts are left behind at or near the surface. If the moisture route remains active, another cycle can follow. This explains why efflorescence removal may appear successful for a short time before the deposits return.- Groundwater can rise through a slab or wall.
- Rain can enter unprotected outdoor paving and joints.
- New concrete and mortar can release moisture during construction.
- Cleaning water can remain below dense finishes or in deep pores.
- Leaks and plumbing faults can keep a local area damp.

The role of evaporation
Evaporation is not the cause by itself. It is the stage that leaves salts visible. A surface may look clean while moisture is still carrying material below it. Closing the surface too quickly with an unsuitable coating can also change the route of moisture and create new problems.Where Efflorescence Commonly Appears
Efflorescence on stone can develop in many settings because the process depends on porosity, salt sources and moisture. Newly installed floors are common examples. Bedding mortar, grout and concrete may still be drying, while the room is being cleaned or occupied. Outdoor paving is exposed to rain, splashback, soil and changing weather. Deposits may gather along joints, at the lower edge of walls or where drainage is poor. Efflorescence paving problems can be more noticeable after wet weather followed by warm, dry conditions.New installations
Fresh mortar, concrete and grout can contain moisture and soluble salts during the first months of service.Natural stone floors
Porous sandstone, slate, limestone and some textured finishes can allow water and salts to move through the structure.Outdoor paving
Rain, ground moisture, poor falls and saturated joints can create repeated cycles across patios, paths and steps.
Efflorescence on tiles and floor tiles
Porous ceramic, terracotta and unglazed clay products can show white marks on stone tiles or efflorescence floor tiles when water moves from the substrate. The visible mark may be on the tile, but the source may be beneath it.Efflorescence, Dirt and Staining: What Is the Difference?
Ordinary dirt normally sits on the surface and often responds to routine cleaning. Efflorescence is a mineral residue linked to moisture movement. It may feel powdery, reappear after washing and follow joints, edges or damp areas. Staining is different again. A stain may result from oil, rust, food, organic matter, paint or a chemical reaction. Some stains penetrate the material or change its colour. A salt deposit is usually pale and dry, but colour alone cannot confirm the diagnosis.Possible efflorescence
- White or pale powdery residue
- Often follows joints, edges or damp areas
- May return after surface washing
- Linked to moisture and soluble salts
Possible dirt or staining
- Greasy, coloured or organic appearance
- Usually linked to use or a local spill
- May respond to a suitable routine cleaner
- Needs a different diagnosis and treatment

A surface wash can remove loose residue temporarily, but it cannot necessarily remove the salt source or stop moisture entering from below, behind or beside the material.
Inspect the Surface Before Starting Efflorescence Removal
A careful inspection is the safest first step. Record where the deposits occur, whether the area feels damp, and whether the marks follow joints, cracks, wall edges or low points. Check for leaks, condensation, poor drainage, failed pointing and water collecting against the structure. The material and finish also need confirmation. Marble and limestone are acid-sensitive. Some concrete, cement-based grout and clay products tolerate methods that would etch or dull calcareous stone. A polished surface can also react differently from a textured or honed surface.- Allow the area to dry where practical and safe.
- Photograph the deposit and note recent weather or cleaning.
- Identify the stone, tile, grout, bedding and surface finish.
- Check moisture sources above, below, beside and behind the surface.
- Choose a hidden test area before wider cleaning.

Need guidance on the right restoration route?
The restoration guide helps property owners and contractors review material, finish, preparation and maintenance before choosing products.
Safe First Steps to Remove Efflorescence from Stone
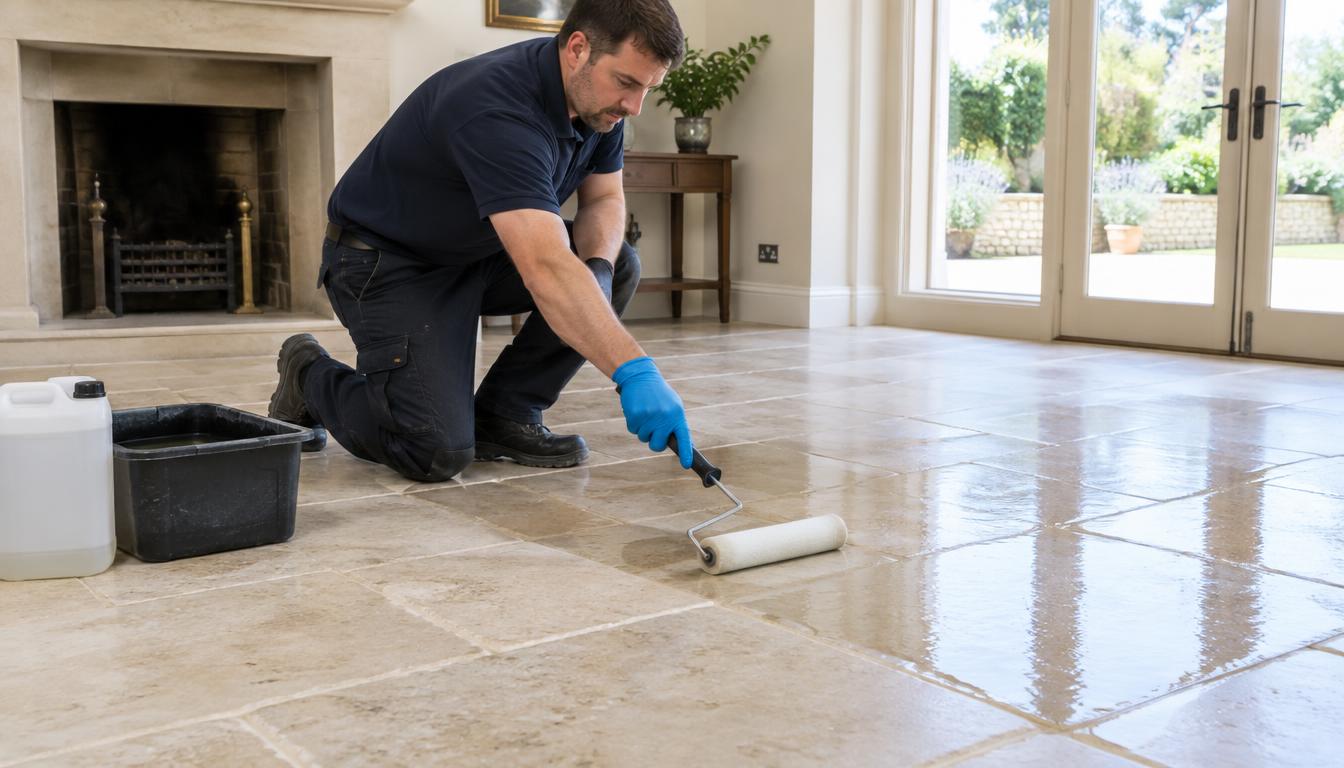
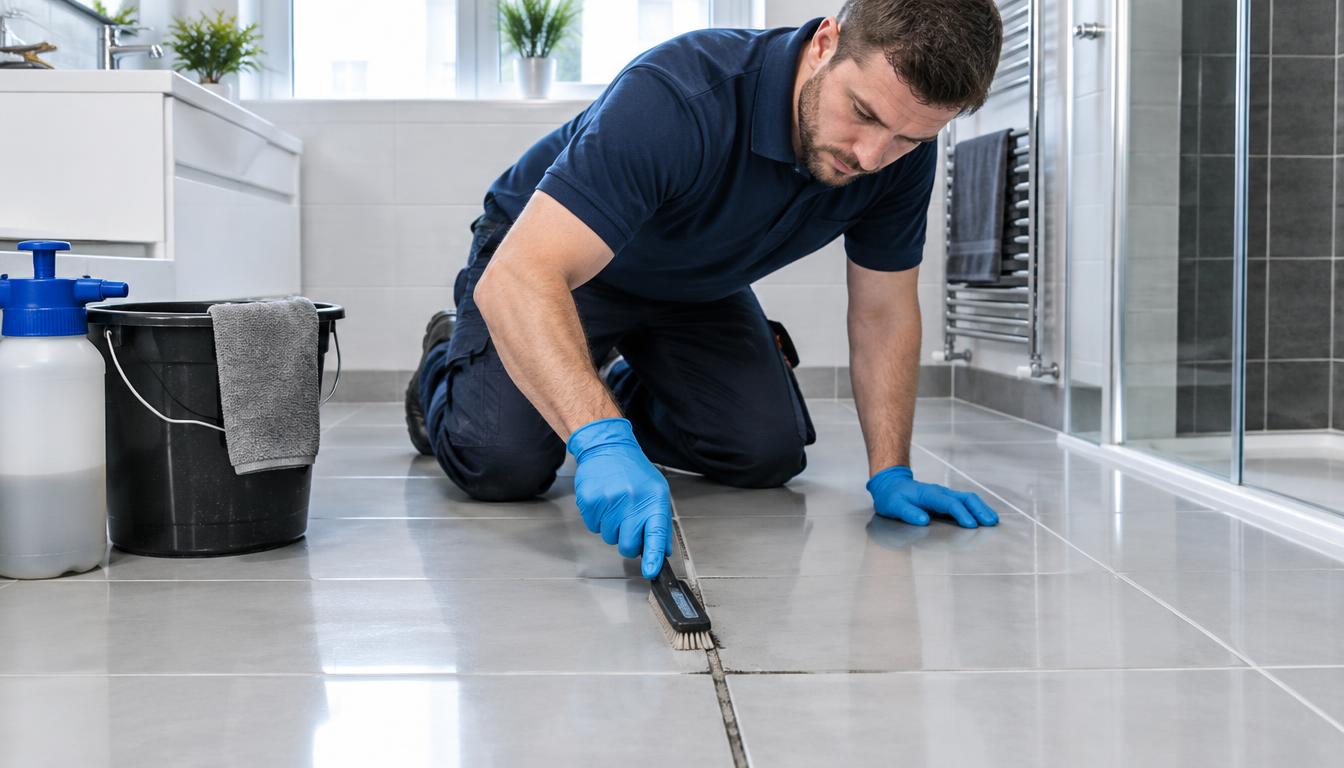
Loose, dry deposits can often be removed with a suitable dry method before liquid cleaning is considered. The aim is to lift the residue without driving water deeper into the material. Use appropriate dust control and avoid spreading powder into adjoining rooms. A soft natural-bristle brush, dry microfibre cloth or suitable low-pressure vacuum may be appropriate for a stable surface. The method depends on the finish. Aggressive brushing can mark soft limestone, remove a weak surface layer or push residue into open pores.- Work when the surface is dry and stable.
- Use clean tools that will not transfer grit or colour.
- Brush lightly in one direction where the finish allows it.
- Remove loosened powder rather than scrubbing it back into the pores.
- Stop if the surface becomes scratched, damp or visibly lighter.

How to Remove Efflorescence by Material
There is no universal treatment for efflorescence. Stone type, porosity, finish, grout, substrate and moisture conditions all affect the cleaning process. Product instructions and manufacturer guidance should be followed, and a small inconspicuous test area should be inspected after drying.Natural stone and sandstone
Start with drying and gentle mechanical removal. If a further cleaning solution is considered, it must be suitable for the exact stone and finish. Absorbent stone may hold liquid below the surface, so controlled application and thorough removal are important.Limestone and marble
Efflorescence limestone and marble require extra caution because both are acid-sensitive. Inappropriate acids can etch, dull or otherwise damage the surface. A product described as an efflorescence remover is not automatically safe for every natural stone.Porous tiles and clay products
Terracotta, quarry tiles and unglazed clay can retain water and salts. Cleaning should avoid saturating the substrate. Efflorescence may also be present below the tile, so repeated surface washing can provide only temporary improvement.Concrete, grout and masonry
Concrete and cement-based joints may tolerate different cleaning approaches, but strength, age and adjacent materials still matter. Avoid allowing a stronger solution to run onto acid-sensitive stone or metal fittings.
Do not mix cleaning chemicals. Do not assume that an acidic treatment is suitable because a deposit contains salts. Material compatibility must be confirmed before application.
Why Acid Is Not a Universal Efflorescence Solution
Acid can dissolve some mineral deposits, but it can also react with calcareous materials. Limestone and marble contain minerals that may be etched by acids. The result can be a dull patch, rough texture, edge damage or a change in reflection that is more noticeable after the surface dries. Acid may also affect cement joints, metal trims, sealers and nearby painted surfaces. Outdoor weather does not remove the risk. Rain can spread a solution into soil, drainage channels or adjoining materials. Where a chemical solution is appropriate, the product label, safety data, ventilation requirements, protective equipment and dwell time must be followed. A test patch should be allowed to dry fully before the wider area is considered.
Compare suitable chemical solutions carefully
Repolished Chemical Solutions provides a starting point for reviewing professional cleaning options. Compatibility with the specific material must still be checked before use.
When Professional Efflorescence Assessment Is Sensible
Professional assessment should be considered when deposits return after several cleaning attempts, moisture remains persistent or the substrate may be affected. It is also sensible when the material is valuable, delicate, historic, polished or uncertain. Contractors and facilities managers may need a documented approach before treating a large floor. A specialist can review the material, inspect moisture patterns, assess the finish and recommend a controlled test. This reduces the risk of turning a removable deposit into permanent chemical or mechanical damage.Recurring deposits
Repeated salt deposits suggest that the moisture route or salt source remains active.Uncertain material
Unknown stone, mixed tiles and repaired surfaces require cautious identification.High-value surfaces
Historic, polished or irreplaceable stone benefits from measured professional advice.
Choosing Specialist Products for Stone-Care Work
Product selection should follow diagnosis, not replace it. Professional products may support cleaning, preparation, protection or restoration, but each item has a defined purpose and material range. The product label should be checked against the stone, finish, grout and intended use. A suitable product may help remove residue after the surface is dry and the moisture source is controlled. It will not correct defective drainage, rising damp, leaking pipework or a saturated substrate. The best outcome usually combines source control, careful cleaning and appropriate maintenance.- Confirm the material and finish before ordering.
- Review dilution, dwell time and rinsing instructions.
- Test in a hidden area and assess the dry result.
- Protect adjacent surfaces and manage run-off.
- Keep records for larger commercial or managed properties.

Review specialist products by application
The Specialist Products collection can help contractors and property managers compare professional stone-care options before checking technical suitability.
How to Reduce the Chance of Efflorescence Returning
Prevention starts with moisture control. Where possible, identify leaks, improve drainage, repair defective joints and prevent water collecting against the structure. Outdoor paving needs suitable falls, stable bedding and joints that do not trap excessive moisture. New installations should be allowed to dry according to the construction system and manufacturer guidance. Covering a damp floor, washing it repeatedly or applying a sealer too early can interfere with drying. Ventilation and controlled cleaning help reduce unnecessary water in the system.- Keep gutters, outlets and drainage channels clear.
- Inspect pointing, grout and perimeter joints for defects.
- Use maintenance methods suited to the material and finish.
- Remove standing water from outdoor paving where practical.
- Allow new concrete, mortar and tiles adequate drying time.
- Use sealers cautiously and only after compatibility checks.

Why sealing does not always stop the problem
Sealing can reduce absorption at the surface, but it does not automatically remove water beneath or behind the material. If moisture remains trapped, salts may move towards edges, joints or an unsealed area. The sealer itself may also fail when applied to a damp or contaminated surface.New Floors, Mortar and Construction Conditions
New floors often need time to release construction moisture. Concrete, mortar, grout and bedding layers can contain soluble salts, while rain or cleaning water adds further moisture. During the first months, deposits may appear as the structure dries and the weather changes. Construction quality still matters. Poor drainage, excessive water in mortar, contaminated aggregate, weak joints or premature sealing can turn a temporary condition into a recurring problem. Contractors should follow the installation system rather than relying on a later chemical treatment. Efflorescence usually reduces when the material dries and the salt supply is exhausted, but that outcome is not guaranteed. Persistent deposits require investigation, particularly where the floor sits over damp ground or where walls remain wet.
Efflorescence Paving and Outdoor Stone Care
Outdoor stone is exposed to rain, frost, soil and changing temperatures. Water may enter through the paving, joints or perimeter walls, then move as the weather changes. Pale deposits often appear after a wet period followed by warm sunshine because water evaporates quickly from the surface. Before cleaning, inspect the falls and outlets. Look for ponding, saturated bedding, blocked channels and soil touching the paving. Check whether deposits are concentrated at the lowest edge or along a wall. These patterns can reveal the source. Dry brushing is often a sensible first step when the deposit is loose. Avoid aggressive pressure washing on fragile stone or open joints, as it can drive water deeper and dislodge bedding material. Any chemical treatment must be selected for the exact paving and nearby surfaces.
A Practical Maintenance Plan for Stone and Tiles
A simple maintenance plan can reduce repeat problems. Record the material, finish, installation date, previous treatments and areas where deposits occur. Note weather, leaks and cleaning methods, because these details can reveal patterns over time.- Inspect floors, walls and paving at regular intervals.
- Remove loose dry deposits with a compatible gentle method.
- Use minimal water during routine cleaning where appropriate.
- Check drainage, joints and damp edges after heavy rain.
- Review any sealer before reapplication.
- Escalate recurring or damaging conditions for professional advice.

Common Errors During Efflorescence Removal
The most common mistake is treating the visible deposit without investigating the moisture route. A second mistake is using a strong product because the residue looks difficult. Strength does not equal suitability, especially on limestone, marble and delicate finishes.Over-wetting
Excess water can carry more salts into the surface and prolong drying.Skipping a test
A cleaner may alter colour, gloss or texture even when the first minute looks successful.Sealing too early
Sealing damp material may trap moisture or redirect deposits to edges and joints.
Frequently Asked Questions About Efflorescence on Stone
What causes efflorescence on stone?
Moisture dissolves soluble salts in stone, mortar, concrete, grout, soil or bedding materials. The water moves towards the surface, then evaporates and leaves a pale mineral deposit.
Why does efflorescence keep coming back?
It usually returns because moisture or the salt source remains active. Leaks, rising damp, poor drainage, wet bedding, defective joints and repeated washing can all maintain the cycle.
Is efflorescence harmful to natural stone?
The deposit is not always harmful by itself, but repeated moisture can indicate a wider problem. Cleaning damage is also possible if abrasive methods or unsuitable acids are used.
Can efflorescence be washed off?
Loose residue may wash away temporarily, but surface washing will not necessarily resolve the moisture source. Excess water may carry more salts into porous materials.
What is the safest way to remove efflorescence?
Allow the surface to dry where possible, remove loose deposits with a suitable gentle dry method, identify the material and test any further treatment in an inconspicuous area. Persistent cases may need professional assessment.
Can acid be used to remove efflorescence?
Acid is not suitable for every surface. It can etch or dull limestone and marble, damage joints and affect nearby materials. Compatibility must be confirmed before any acidic product is considered.
Can limestone develop efflorescence?
Yes. Limestone can develop pale salt deposits when moisture moves through the stone or its substrate. Because limestone is acid-sensitive, cleaning requires particular caution.
Can marble develop efflorescence?
Yes. Marble can show deposits where moisture and soluble salts are present. Marble is also acid-sensitive, so unsuitable chemicals may etch or dull the finish.
Does sealing stop efflorescence?
Sealing may reduce surface absorption, but it does not automatically stop moisture beneath or behind the material. The source must be addressed and the surface must be suitable and dry before sealing.
When should efflorescence be professionally assessed?
Professional advice is sensible when deposits recur, moisture is persistent, the substrate may be affected, or the material is valuable, delicate, historic or uncertain. It is also useful after unsuccessful cleaning attempts.
Conclusion: Treat the Moisture Source as Well as the Deposit
Efflorescence is a visible result of moisture carrying salts through porous stone, tiles, mortar or concrete. Dry removal may deal with loose residue, but lasting efflorescence removal depends on understanding the material, controlling water and choosing a compatible treatment. Marble and limestone need particular care because inappropriate acids can cause permanent etching or dulling. A test area, clear product guidance and professional assessment provide a safer route when the problem returns or the surface is valuable. For property owners, contractors and facilities managers, the most effective CTA is a practical next step: inspect the source, review suitable restoration products and request specialist advice when the diagnosis or material is uncertain.
Choose the next step with confidence
Review specialist products, compare chemical solutions carefully, or request guidance when recurring moisture makes the correct treatment uncertain.