
Worn natural stone can often be transformed without replacing the tiles. The right process removes ingrained dirt, scratches, stains and failed coatings while preserving the character of the material. Our guide explains each stage, from inspection to maintenance, so the finished floor looks better and performs for years.

Plan the right restoration method
Start with the stone type and surface condition. Choosing the process before the machine helps control cost, risk and working time.

Inspect and prepare the floor
1. Assess the stone and existing finish
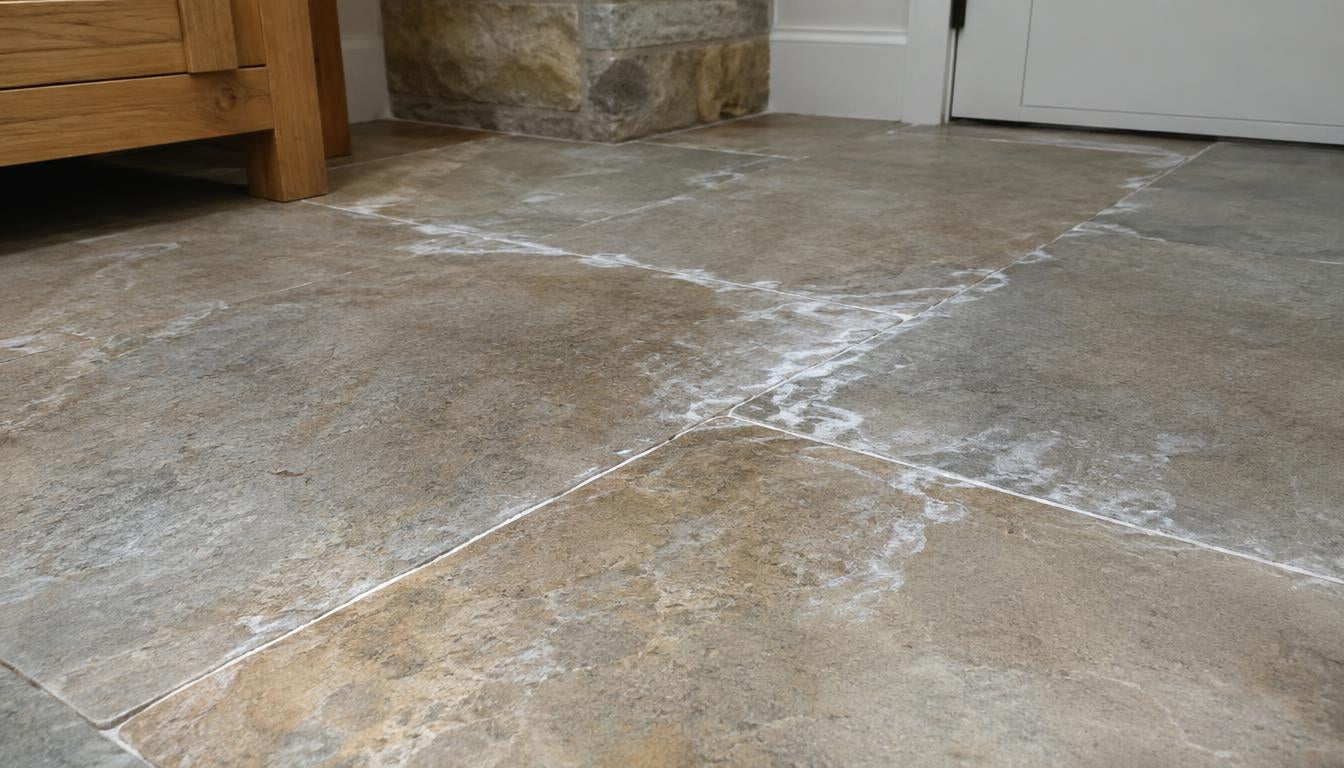
Identify whether the floor is marble, limestone, travertine, slate, sandstone or another natural stone. Note its finish, colour, texture and level of wear. Look for stains, etching, scratches, lippage, cracks, loose tiles, grout damage, wax and failed sealant.
A polished marble floor needs a different method from riven slate. A porous limestone may absorb water quickly, while a coated surface can conceal the true condition. Test every chemical and mechanical method in an inconspicuous area. Check the result after drying before expanding the job.

2. Prepare the work area
Remove furniture, mats and loose dirt. Protect skirting boards, door frames, walls and nearby finishes. Arrange ventilation and keep occupants away from the work zone. Wear suitable eye, hearing, hand and respiratory protection.
Grinding creates dust or slurry. Use appropriate extraction for dry work and controlled water management for wet work. Keep cables and hoses clear. Never allow dirty slurry to dry on the surface, as it can leave a dull layer and mark grout.

Clean, strip and remove contamination
Deep cleaning
Begin with a dry vacuum to remove abrasive grit. An alkaline cleaner is useful for grease, organic dirt and heavy soil. A neutral cleaner is safer for routine cleaning and polished marble or sealed surfaces. Follow dilution instructions and work in small areas.
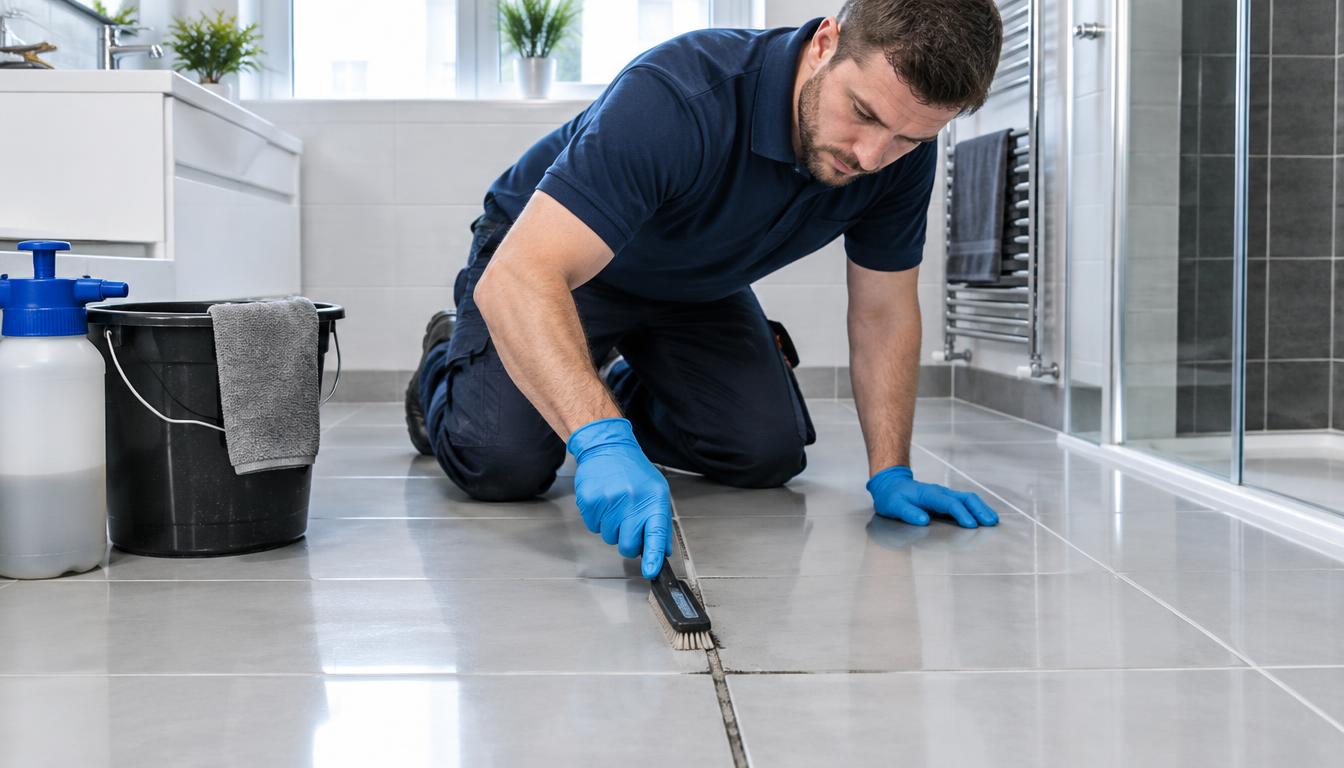
Agitate the solution with a suitable rotary machine and brush. A nylon brush is effective for general cleaning, grout lines and textured areas without cutting the stone aggressively. Use controlled water, extract the slurry and rinse until the surface is clear.
Light cleaning equipment
For domestic floors, small commercial areas and light polishing, choose a manageable single-disc machine.
- Klindex Rocky rotary machine for general cleaning and light polishing.
- Hyper Grinder HG 17 ROK for professional rotary cleaning.
Cleaning brushes
Match the brush to the texture. Excess pressure can scratch softer stone or damage grout.
- Nylon machine brush for general cleaning.
- Carbide brushes for riven stone and stubborn coating removal.

Wax, old sealer and surface build-up
Build-up may appear as yellowing, patchy gloss, sticky dirt or dark edges. Test the suspected layer before stripping the whole floor. Carbide brushes can work well on riven stone and for removing wax or sealer, but use light pressure and a suitable chemical.
Avoid acidic products on limestone, marble and other acid-sensitive materials. Do not assume a strong chemical is a faster solution. It may etch the stone, weaken grout or create a larger repair job.

Grind, repair and polish the surface
Grinding and levelling
Grinding is required for deep scratches, severe etching, uneven areas and lippage. Metal-bond diamond tools cut quickly and level the surface. They are suited to substantial correction, not routine cleaning. Progress through suitable grades and keep the machine moving in an even pattern.
Use water carefully, manage slurry and inspect after each stage. The aim is a consistent level, not excessive removal of material. View stone grinding and polishing demonstrations before operating unfamiliar equipment.
Remove deep scratches and lippage
Metal diamonds are the starting point for major correction. Select the tooling for the stone and the depth of damage.

Repairs and crack filling
Clean hairline cracks and small defects, then remove loose material and dry the repair area. Use a compatible stone glue or resin, fill slightly proud of the surface and allow it to cure before honing. Colour matching should consider the stone’s final finish.
Structural movement, wide cracks, loose substrates or repeated failure require assessment by a suitably qualified professional. A cosmetic fill cannot solve a moving base.
View stone repair resins
Honing and polishing
After metal grinding, resin-bond diamonds refine the marks. They can also remove light scratches where full grinding is unnecessary. Work through the correct grit sequence, clean between stages and check the finish under strong light.
Honing creates a smooth satin appearance. Further resin stages can develop a higher sheen on suitable marble or limestone. Polishing does not suit every stone. Slate and heavily textured materials may look better with a refined natural finish.
Refine the finish after grinding
Use resin diamonds to remove remaining marks and create an even honed or polished appearance.

Choose equipment, seal and maintain the result
Choose the machine for the job
A single-disc machine suits light polishing, general cleaning and small areas. A versatile rotary machine that accepts a planetary head offers more capability for grinding and polishing. For demanding commercial work, a heavy-duty planetary machine provides better control, productivity and consistent results.
- Beton Ranger 17 is a flexible all-rounder for cleaning, grinding and polishing.
- Klindex Levighetor 640 TOP suits larger commercial restoration projects and demanding correction.

Seal the restored surface
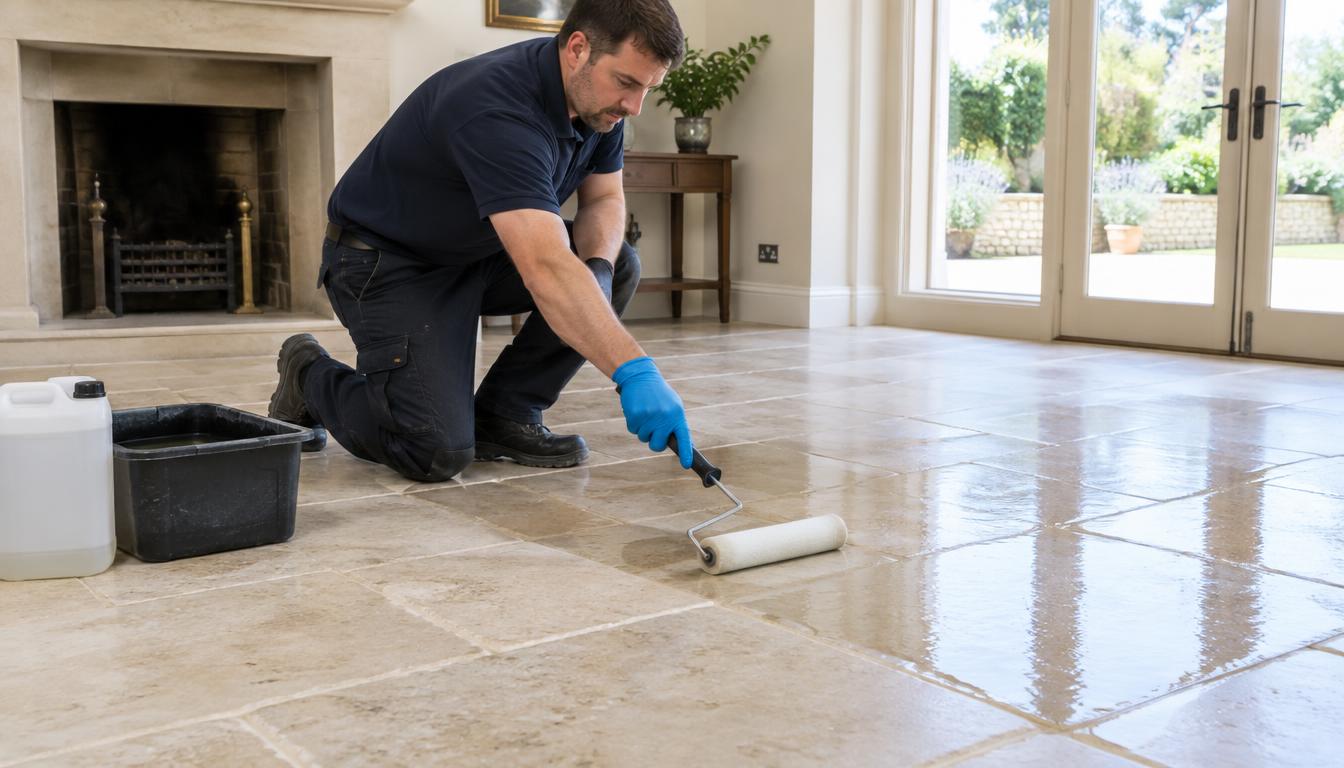
Sealing may reduce absorption and make future cleaning easier. Penetrating sealers enter the pores while preserving a natural look. Topical sealers create a film and may alter colour, sheen or slip characteristics. Not every finish needs the same product.
Apply only to a clean, fully dry surface. Follow the manufacturer’s guidance, spread evenly and remove excess before it becomes tacky. Test colour and slip first. Allow the stated curing time before normal traffic.

Curing and ongoing maintenance
Keep the floor unused for the recommended time. Light foot traffic may be possible sooner than furniture replacement or wet cleaning. Use entrance mats, felt pads and regular dust removal to limit abrasive grit.
For routine care, use Restore-A-Floor cleaner for suitable heavy cleaning tasks and Klindex Emmerol for regular maintenance where appropriate. Blot acidic spills quickly, avoid excess water and never use unsuitable detergents.

Decision guide: cleaning, honing or full restoration?
Cleaning and light polishing
- Surface dirt and dullness are the main issue.
- No deep scratches or lippage are present.
- Use a rotary machine, suitable brush and gentle cleaner.
Honing or grinding
- Scratches, etching or uneven wear remain after cleaning.
- Tile edges are uneven or the surface needs levelling.
- Use staged diamond tooling and controlled slurry removal.
Specialist restoration
- Cracks show movement, tiles are loose or damage is widespread.
- The stone type or existing coating is uncertain.
- Request a site assessment and written quote before work begins.
Common mistakes to avoid
- Using acidic cleaner on sensitive natural stone.
- Skipping testing and surface preparation.
- Choosing the wrong diamond grit or applying too much pressure.
- Leaving slurry, over-wetting the floor or sealing before it is dry.

Frequently asked questions
Can every stone floor be polished?
No. Marble and some limestone polish well. Slate, sandstone and textured stone may need honing or gentle cleaning instead.
How can deep scratches be removed from stone?
Clean first, then use progressive metal diamonds for deep damage followed by resin diamonds to refine the finish.
What is the difference between grinding, honing and polishing?
Grinding removes material and levels the floor. Honing smooths it to a satin finish. Polishing develops a higher sheen on suitable materials.
How is lippage removed?
A planetary machine with suitable metal-bond diamonds gradually levels raised tile edges. Significant lippage is best handled by a specialist.
Can hairline cracks in stone tiles be repaired?
Small stable cracks can often be cleaned and filled with compatible stone resin. Structural movement needs further assessment.
Which cleaner should be used after restoration?
Use a stone-safe neutral cleaner for routine care. Follow the sealer and stone manufacturer’s instructions.
How long should a restored stone floor remain unused?
The time depends on the sealer, repair material and site conditions. Follow the stated curing guidance before traffic or furniture.
Does every stone floor need to be sealed?
No. Porosity, finish, location and maintenance needs determine whether sealing is suitable.
Can a single-disc machine be used for stone restoration?
Yes, for cleaning, light polishing and some honing. It is not the best choice for serious lippage or deep grinding.
When is a planetary grinding machine necessary?
Use one for larger areas, demanding commercial work, deep scratches, uneven surfaces and controlled lippage removal.

Restore the floor with the right system
Successful restoration depends on matching the cleaner, brush, machine, diamond tooling, repair material and sealant to the stone and its condition. Inspect first, test carefully, control dust and moisture, then progress through each stage without rushing.
Need a confident restoration plan?
For uncertain surfaces, commercial projects or extensive damage, our specialist team can help define the right process, equipment and expected result before the job begins.